
Frequently Asked Questions
1. What materials can I use for crafting a custom knife handle?
2. What tools do I need to create a custom knife handle?
3. What is the first step in creating a custom knife handle?
4. How do I ensure my knife handle fits well before gluing?
5. What are the benefits of crafting my own knife handle?
Creating a custom knife handle can elevate your handmade knives, allowing you to express your creativity while enhancing the functionality of the blade. Whether you are a seasoned craftsman or a beginner, this DIY project can be a rewarding experience. Here’s everything you need to know to craft your own personalized knife handle that reflects your style and meets your needs.
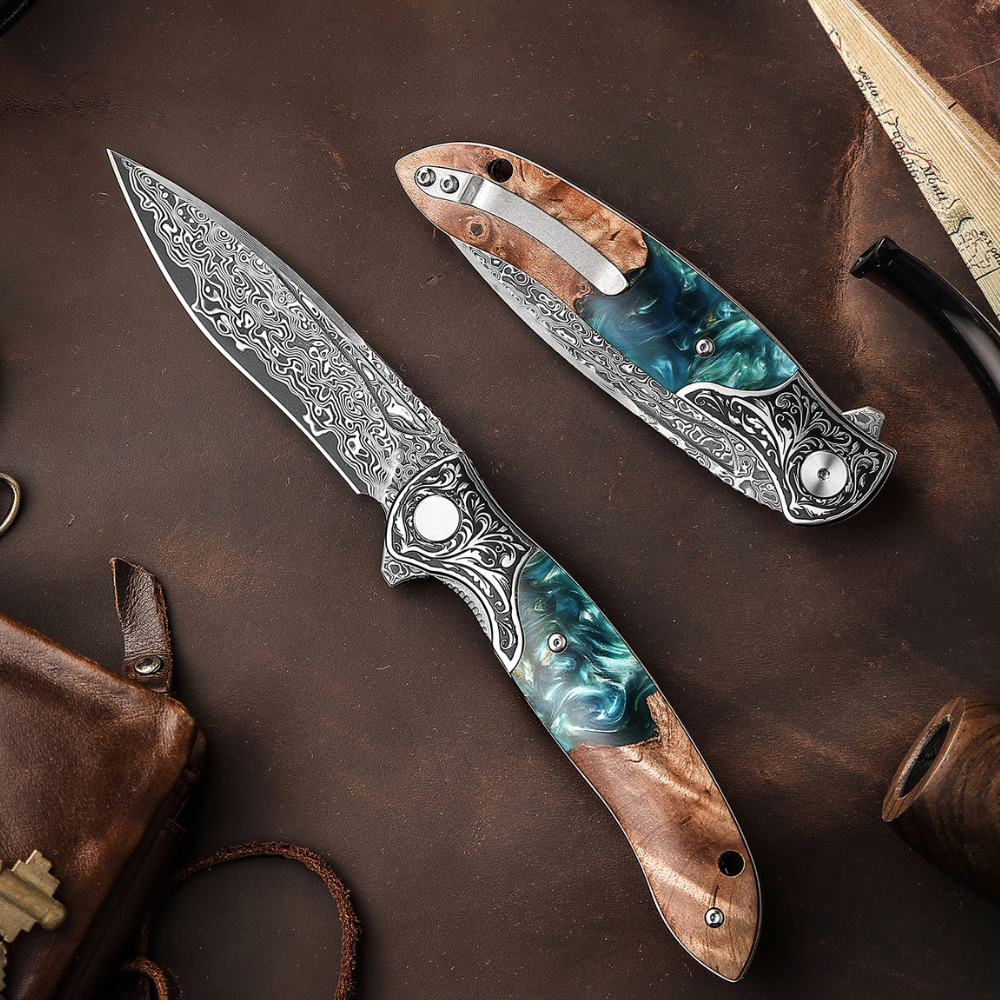
Understanding the Materials
Before diving into the process, it's essential to understand the materials you will use. Each type of wood or synthetic material will affect the look and feel of your custom knife handle. Here are some commonly used materials:
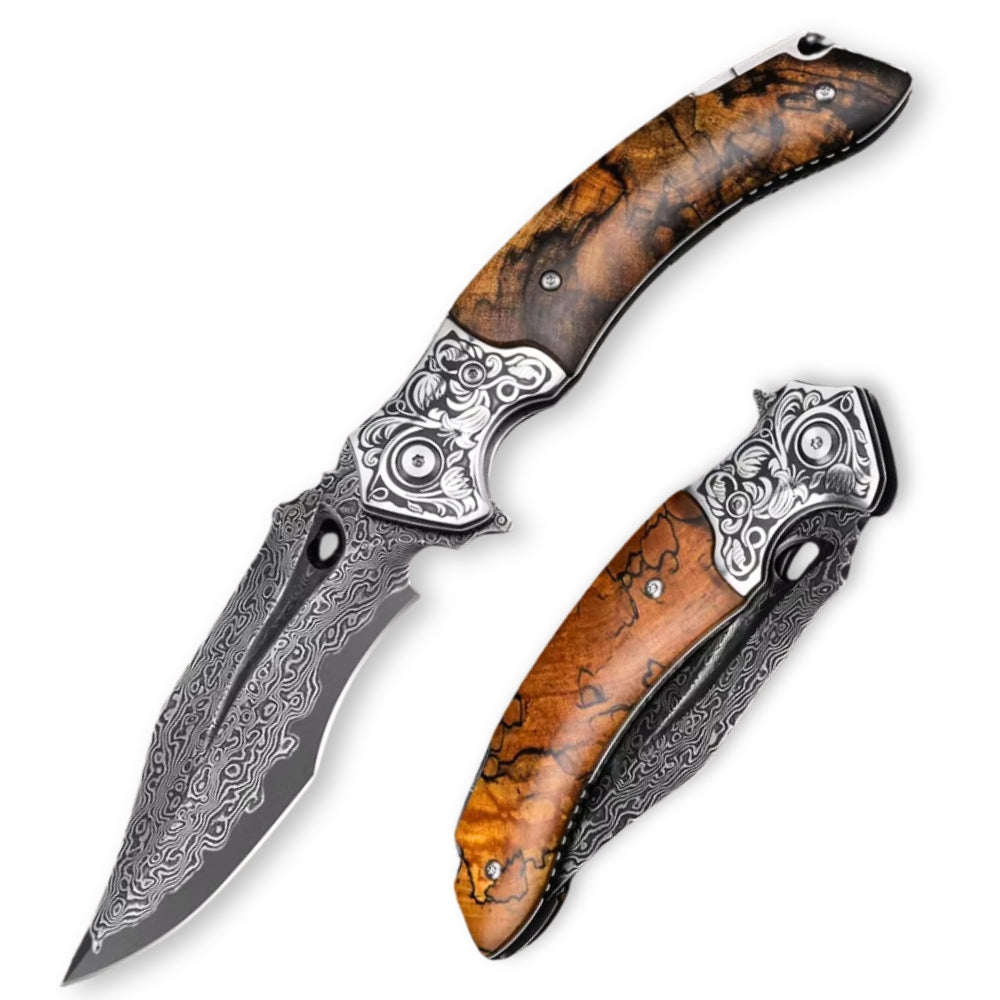
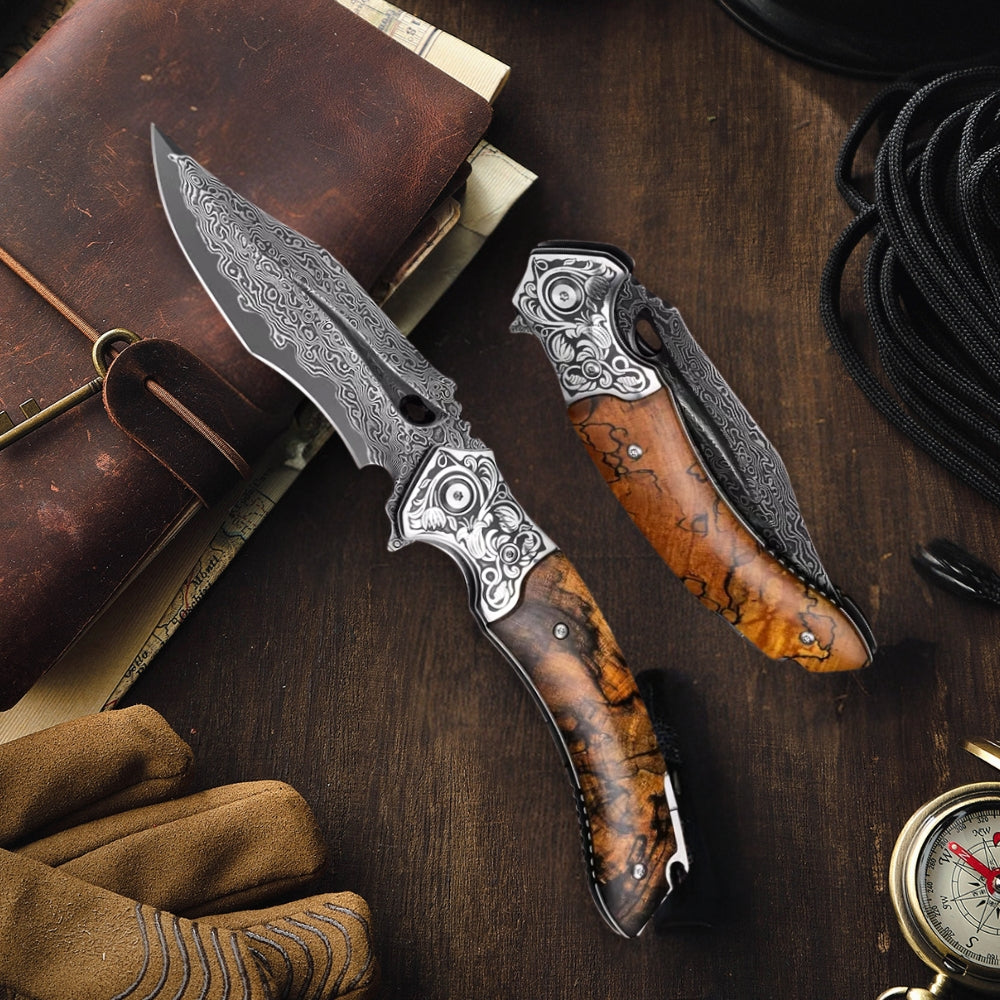
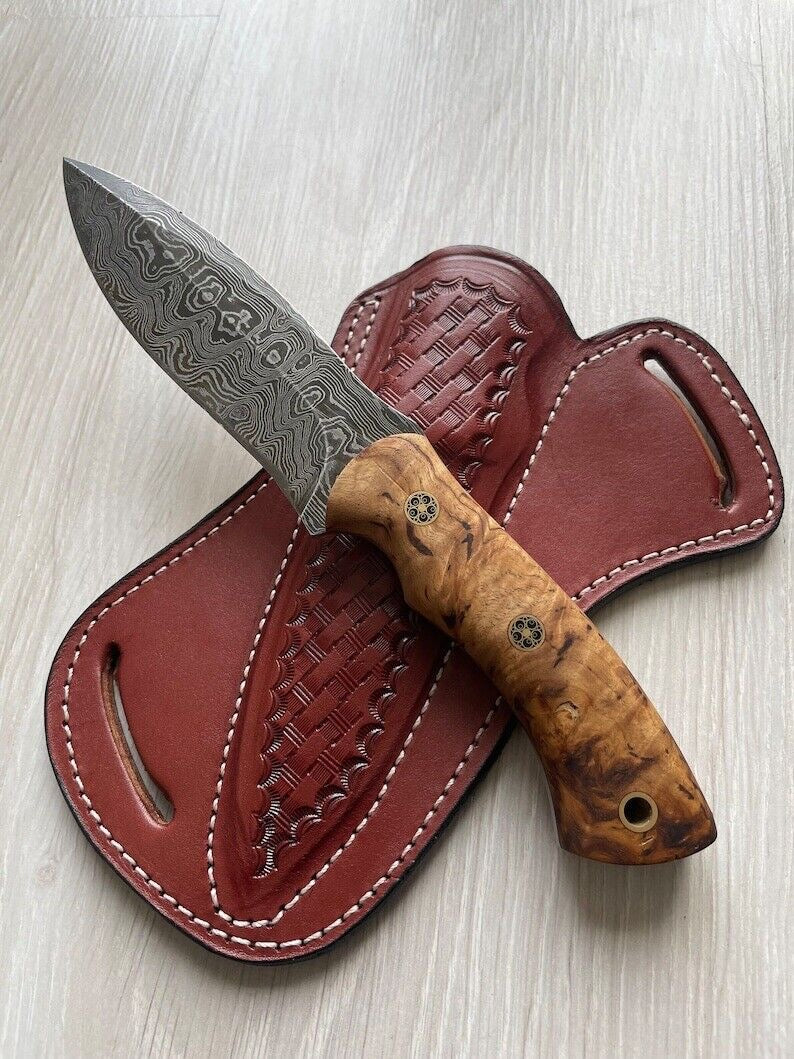
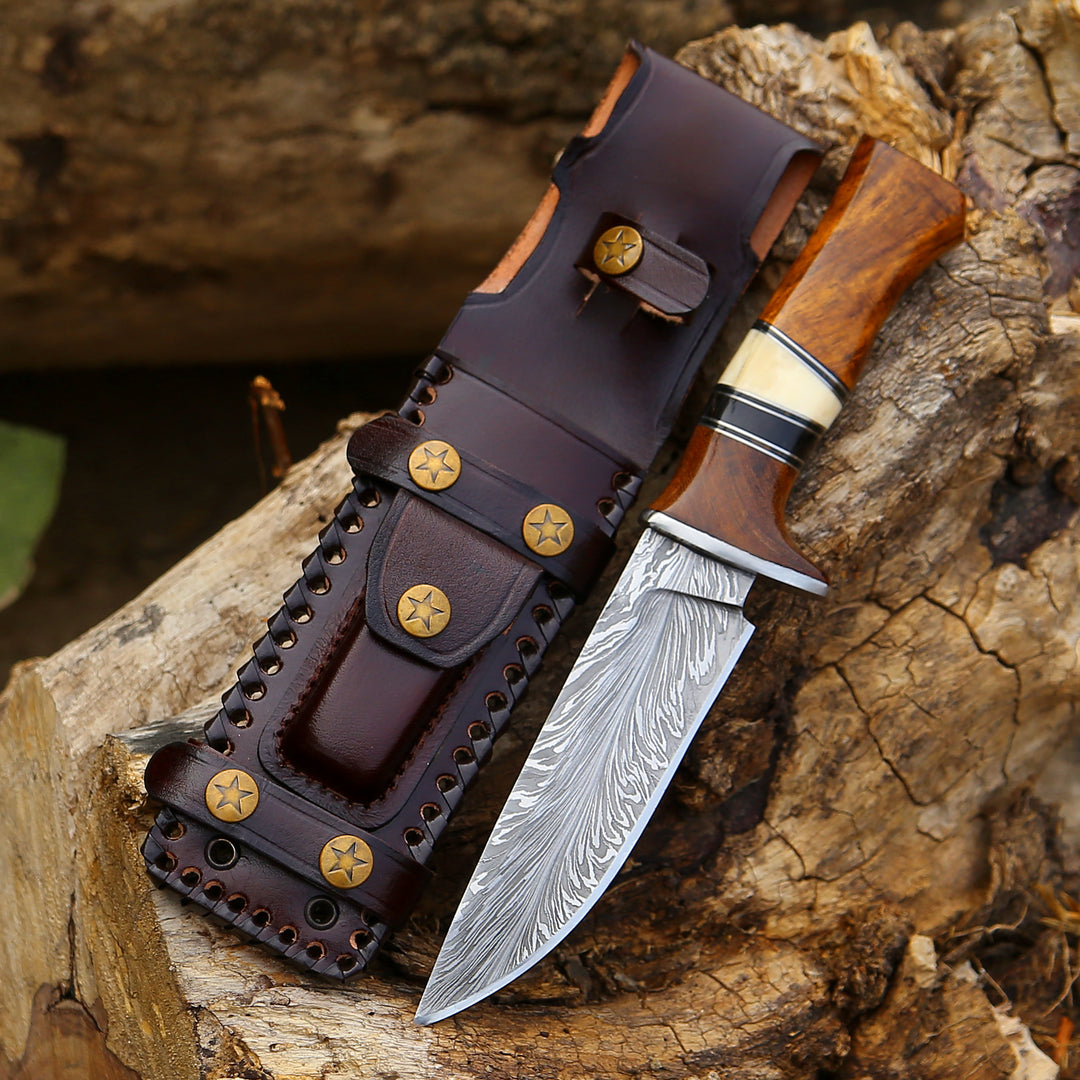
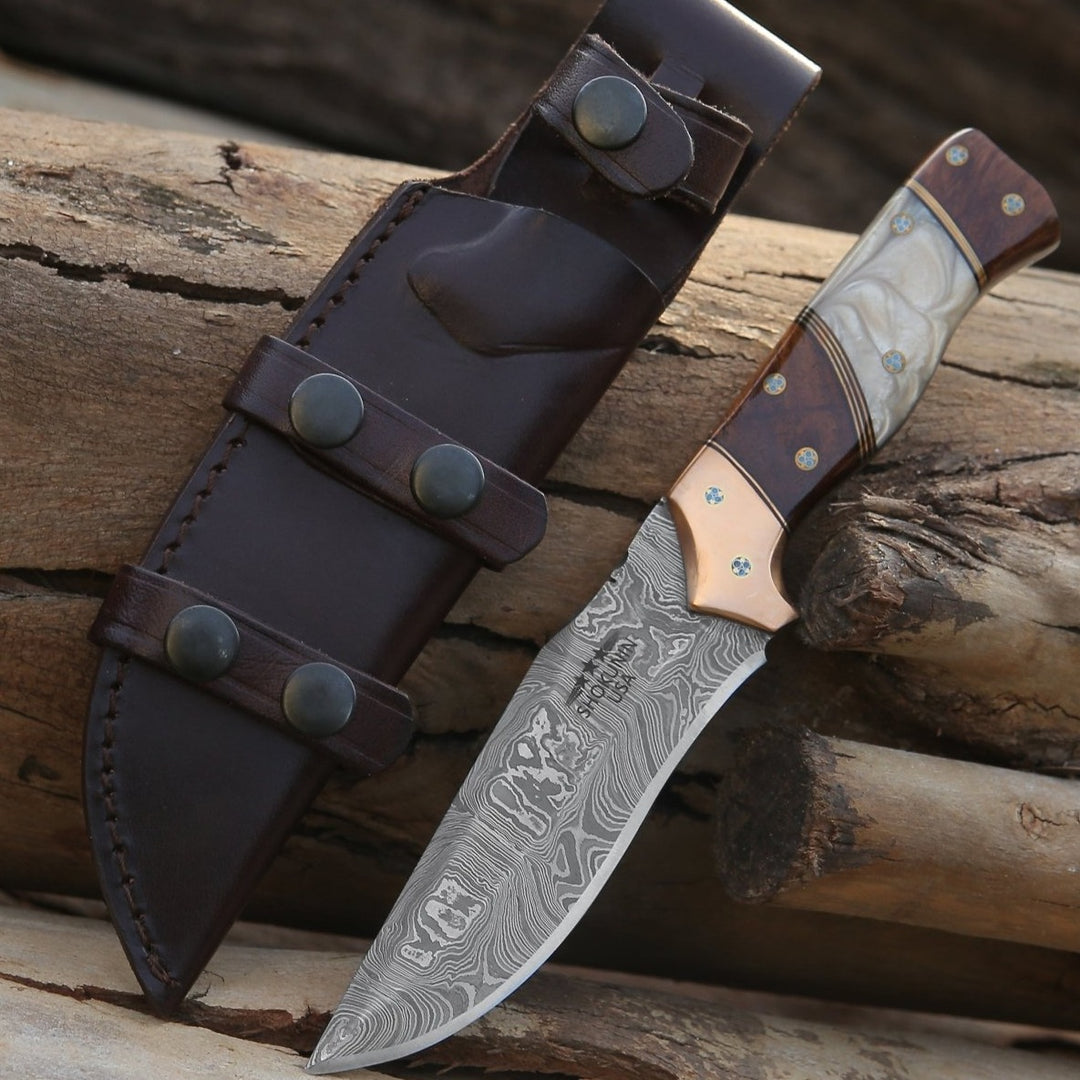
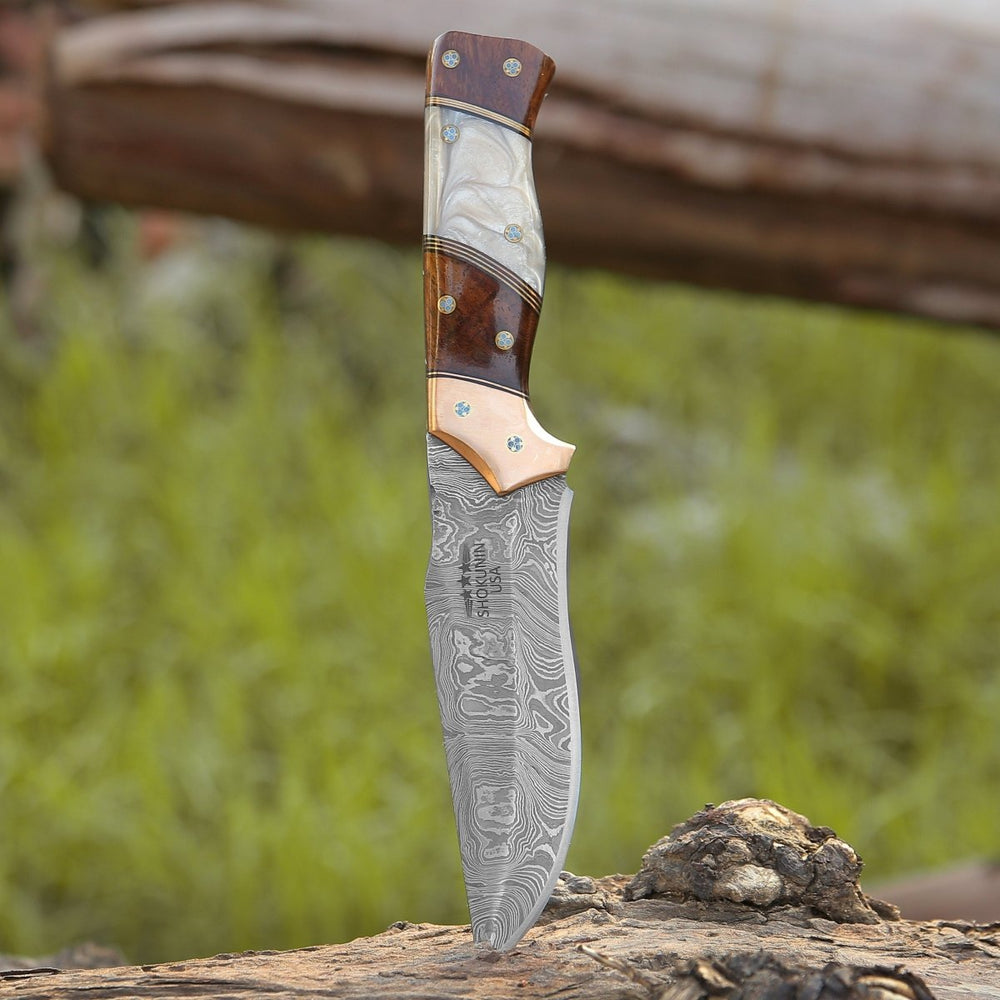
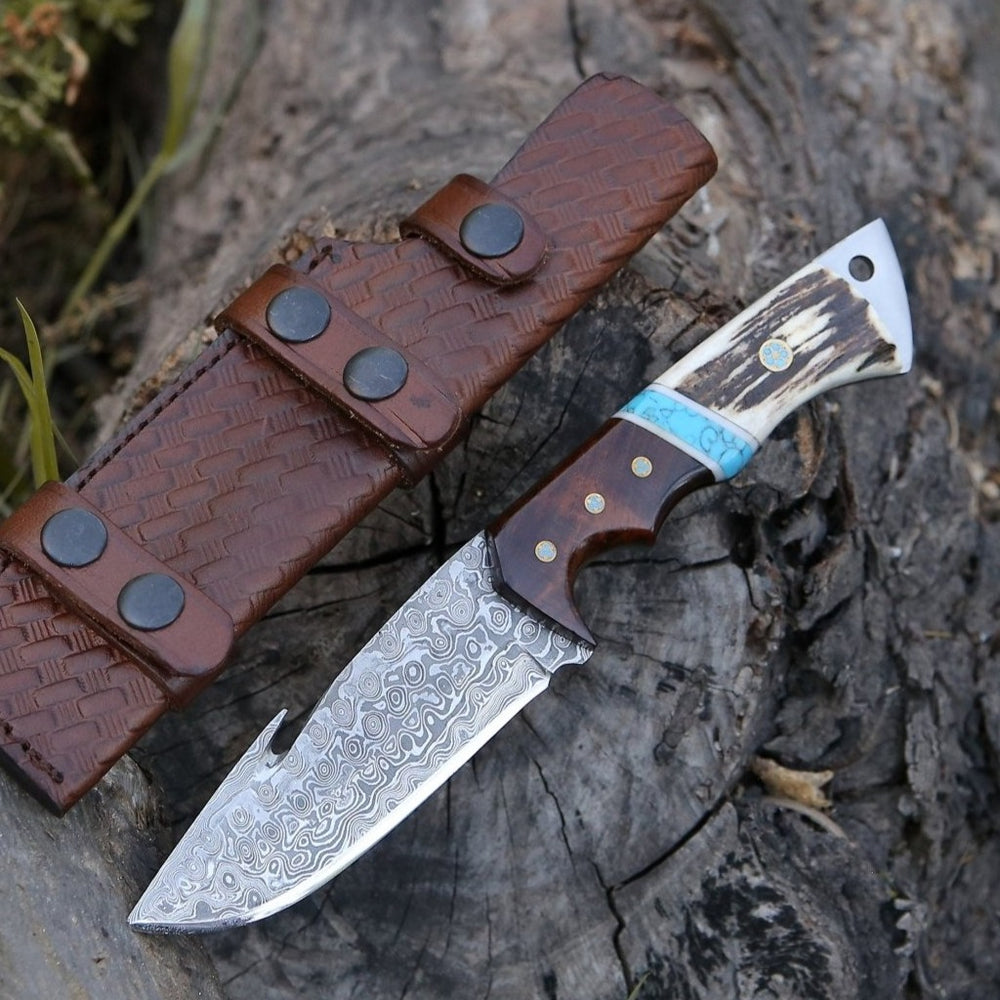
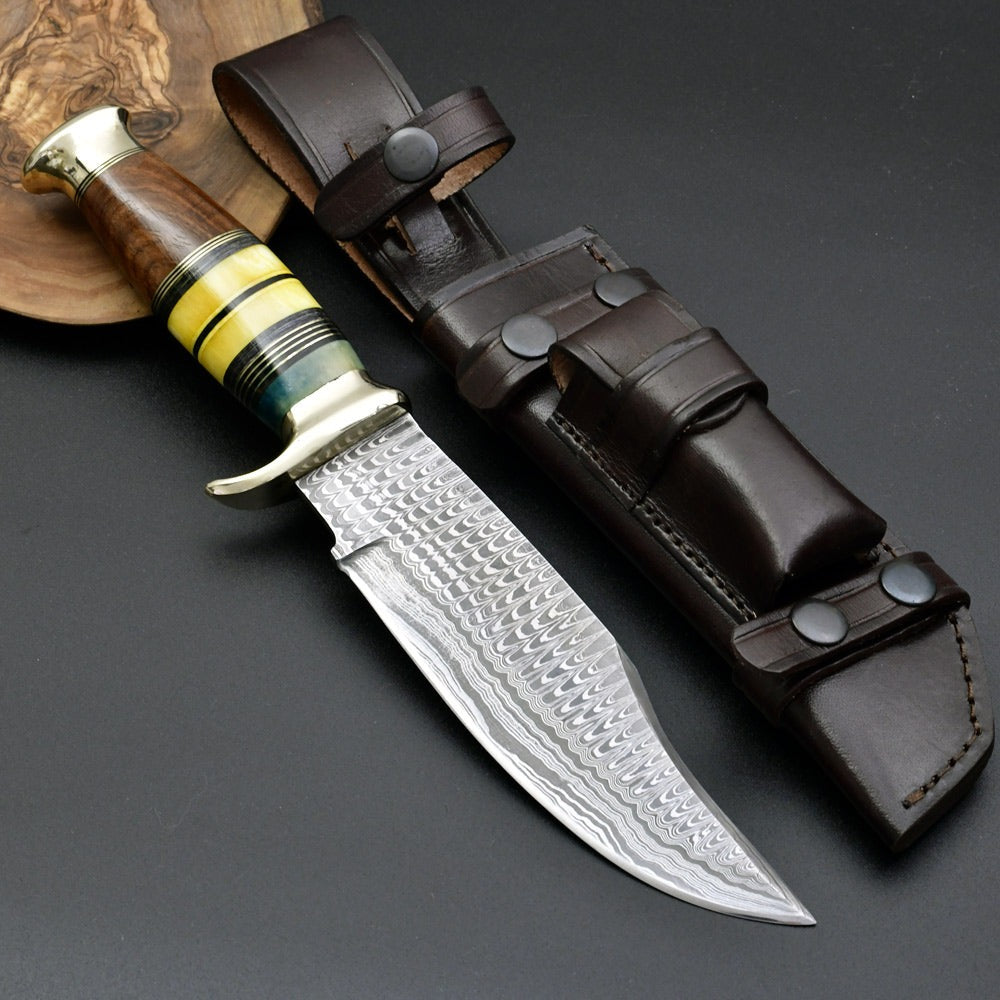
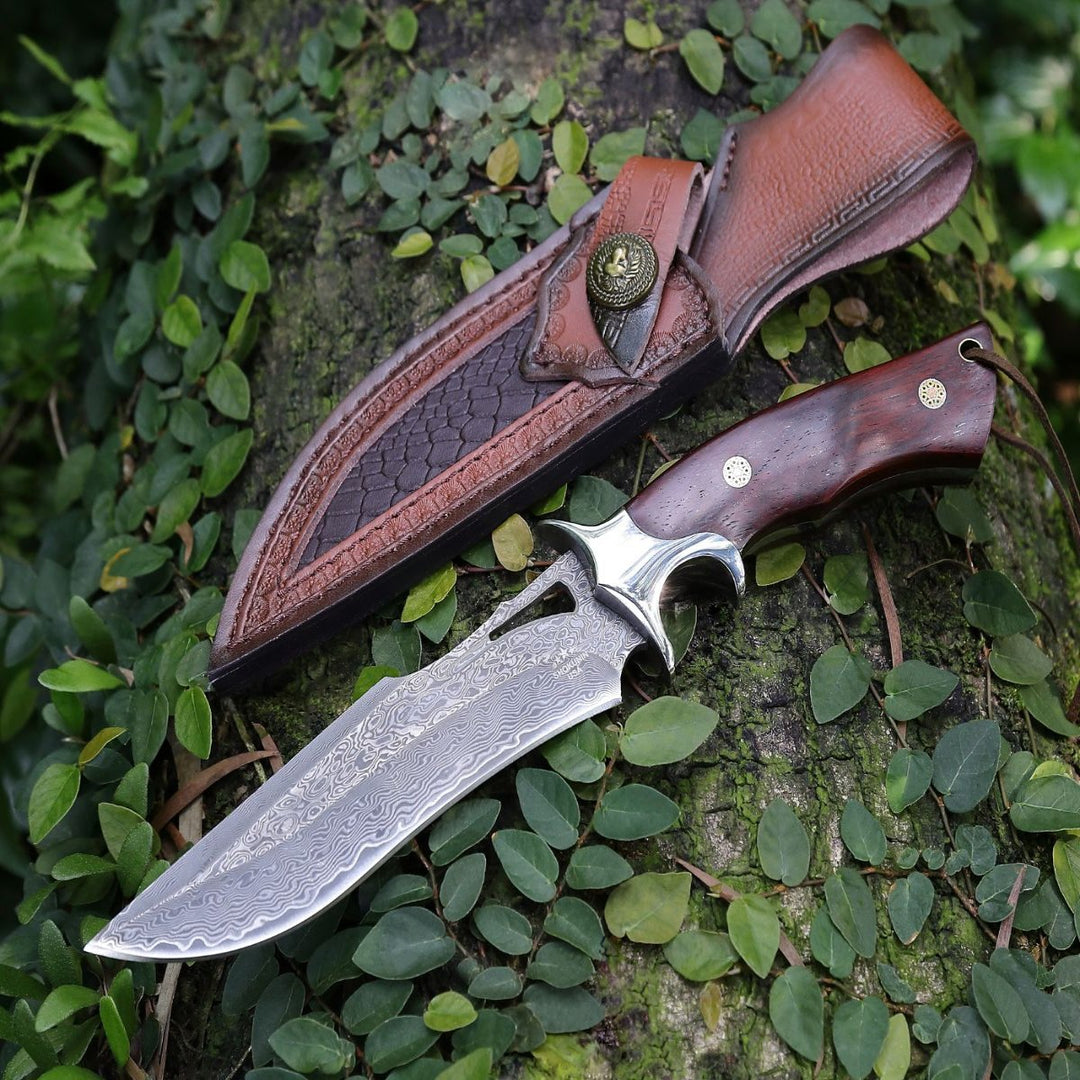
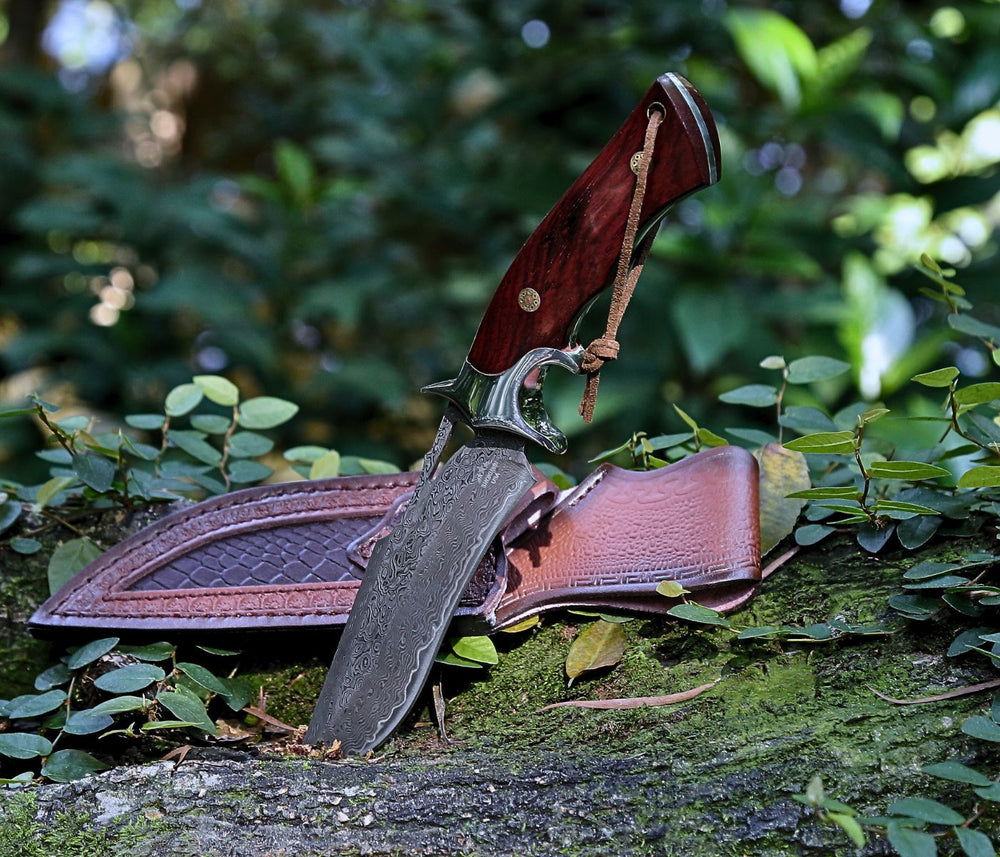
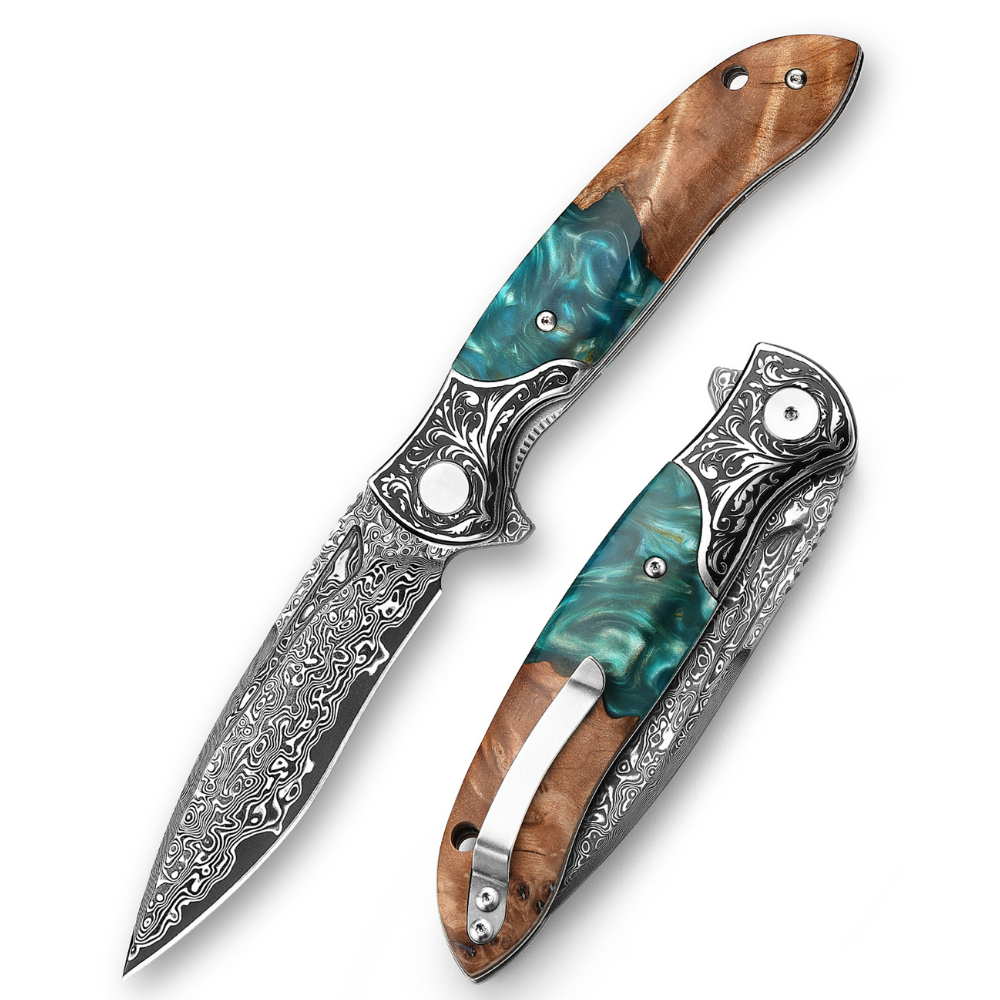
- Wood: Classic and biodegradable, wood handles provide a natural aesthetic. Some popular choices include walnut, maple, and birch.
- Micarta: A synthetic material made from layered fabrics and resin, Micarta is durable and great for outdoor knives.
- G10: Another synthetic option, G10 is a glass epoxy that is resistant to moisture and ideal for heavy-duty use.
Choosing the Right Material
Selecting your material largely depends on the intended use of your handmade knives. For example, if you plan on using your knife outdoors, consider the durability and grip of your chosen material. On the other hand, if the knife is meant for display, a beautifully grained wood could be your best bet. Always consider the weight, texture, and comfort of the handle.
Essential Tools and Supplies
After choosing your material, it's time to gather the necessary tools and supplies. Here’s a list of what you’ll need:
- Knife blank
- Wood or synthetic material for the handle
- Epoxy or super glue
- Clamps
- Files and sandpaper
- Band saw or jigsaw
- Drill and drill bits
- Protective gear (gloves, goggles, etc.)
Safety First
Crafting your own knife handle involves sharp tools and materials that can be hazardous. Always wear protective gear, such as safety goggles and gloves, to prevent injuries.
Step-by-Step Process to Create Your Custom Knife Handle
Now that you have your materials and tools ready, it’s time to dive into the actual crafting process. Follow these steps to create your custom knife handle:
Step 1: Design Your Handle
Before cutting any materials, sketch a design for your knife handle. Think about the shape, size, and any grooves or patterns you want to incorporate. A well-thought-out design will guide you through the process and ensure a better fit.
Step 2: Measure and Cut Your Material
Using your design as a guide, measure the wood or synthetic material for your knife handle. Once you have your measurements, use a band saw or jigsaw to cut the handle piece to shape. Be meticulous with your cuts; they will dictate the final look of your knife handle.
Step 3: Drill Holes for Attachment
With the handle piece shaped, it’s time to drill holes for attaching the handle to the knife blade. Ensure that the holes are even and match the attachment points on the knife blank. Use precision; misaligned holes can throw off the balance and aesthetics of your handmade knives.
Step 4: Fit and Sand the Handle
Before glueing, fit the handle to the knife blank to check alignment. It’s crucial that everything fits comfortably. Once satisfied, use files and various grits of sandpaper to smooth the edges and create a comfortable grip. Pay attention to details, as a smooth finish will reap visual rewards.
Step 5: Glue the Handle
Next, apply a layer of epoxy or super glue to the knife blank, then attach your custom handle. Secure everything with clamps and allow it to dry completely as per the adhesive's instructions. This step ensures a strong bond that will endure heavy use.
Step 6: Final Sanding
Once the glue has dried, remove the clamps and give your newly attached handle one final sanding. Make sure to do this thoroughly and check for any rough spots or unevenness. A final polish using fine-grit sandpaper will enhance the feel and look of your knife handle.
Step 7: Finishing Touches
Once your handle is smoothed out to perfection, it’s time for finishing touches. You may want to apply a wood finish or oil to enhance the color and protect the material from moisture and wear. If working with synthetic materials, make sure to follow the recommendations for cleaning or maintaining your custom knife handle.
Incorporating Personal Style
Your custom knife handle should reflect your personality and style. Here are some ideas to further personalize your handcrafted piece:
- Engraving: Consider adding an engraving of your initials or a small design on the handle to make it uniquely yours.
- Color Stains: Experiment with different wood stains to create a color that complements your blade.
- Texture: Experiment with adding texture, such as ridges or grooves, for improved grip and aesthetics.
The Benefits of Crafting Your Custom Knife Handle
Creating a custom knife handle comes with several fantastic benefits. Here are a few compelling reasons to consider undertaking this DIY project:
- Customization: Your knife handle will be tailored perfectly to match your hand size and style preference.
- Connection: Handcrafting your knife will create a deeper connection with your handmade knives, enhancing your overall experience.
- Cost-effective: Instead of paying for high-end knives with unique handles, you can create your own masterpiece at a fraction of the price.
Embrace the Craftsmanship
Creating a custom knife handle is not just a project; it’s an opportunity to express your creativity, improve your skills, and connect with the craft of handmade knives. As you embark on this DIY journey, remember to take your time, enjoy the process, and let your personality shine through in your work. With a completed project that reflects your hard work and dedication, you’ll have a knife that is not only functional but also a true representation of your craftsmanship.
So roll up your sleeves, grab those materials, and start crafting your unique knife handle today! Your handmade knives deserve a beautiful, custom touch that you can be proud of.


Laissez un commentaire